Pressure washing removes dirt, dust, and debris from the surface of the house that can prevent paint from adhering properly.
It also helps to remove any old paint or sealant that may be on the surface and could cause problems later on.
Pressure washing is a quick and easy way to get your house ready for painting – it only takes a few hours, and you don’t need any special equipment.
Plus, it’s a lot cheaper than hiring a professional painter!
If you’re thinking about painting your house shortly, be sure to pressure wash it first for the best results.
I know what you’re thinking. “Do I really need to pressure wash my house before I paint it?” The answer is yes. Yes, you do. Don’t worry; it’s not as daunting as it sounds. It’s pretty easy and only takes a few hours.
Pressure washing the outside of your property before painting may help you save a lot of time when it comes to preparing the surface for new paint.
The pressure from a pressure washer can strip away chalky residue, rust, and hardened grime, leaving nothing behind but a smooth, bare surface.
Here’s How To Pressure Wash A House Before Painting?
Why You Need to Wash Your House Before Painting
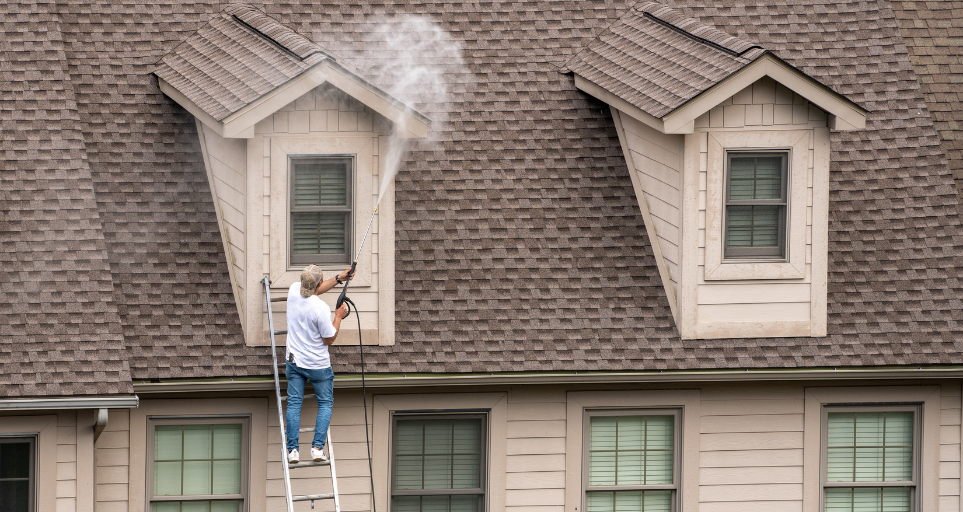
It is well-known that cleaning your house before painting is essential if you want the paint to last. But why is this the case?
The main reason why you need to clean your house before painting is because it will extend the lifespan of the paint. Paint can last a long time, but if you don’t clean the surface before painting, the paint will only last for a short while.
Besides, it will make the paint job look better. If you don’t do it, the paint will not look as smooth and even.
So, if you want your paint to last longer and look better, clean your house before painting!
Pressure Washing vs. Hand-Washing: Which Is Better
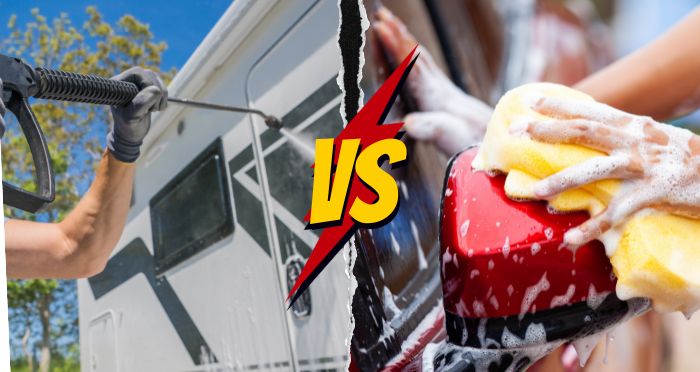
Suppose you have the time and energy and several benefits to cleaning your home by hand before painting. Suppose you’ve ever had your vehicle washed at a touchless car wash.
In that case, you know that washing without physical contact delivers acceptable but never exceptional results. For example, a white cloth wiped across the car after a touchless wash might still pick up mud.
The same may be said of washing your home’s siding before painting: the finest effects will come from hand-washing with soap, water, and brushes.
On the other hand, hand-washing an entire house is quite complicated and time-consuming, and a pressure washer can do a great job in much less time.
What About Power Washing instead of Pressure Washing
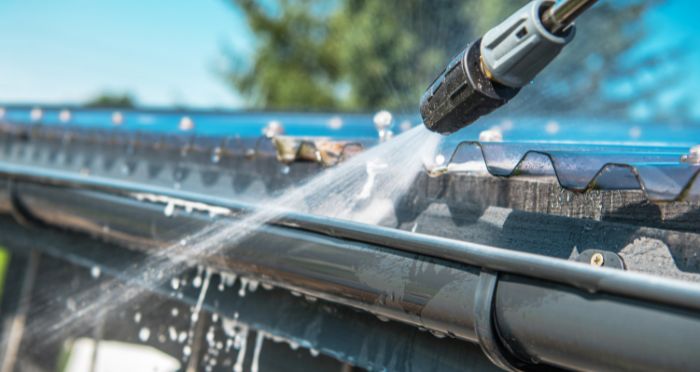
Although they sound similar, power washing and pressure washing are quite different. The main difference is that power washers use heated water, while pressure washers don’t. That makes a real difference when cleaning tough stains and dirt.
The heated water can help dissolve tougher stains and dirt, while cold water can push them around. So if you’re looking to get your driveway or patio clean, a power washer is the way to go. Just be careful not to use too high of a heat setting, or you could damage the surface you’re trying to clean.
Which Pressure Washer Is Best For You
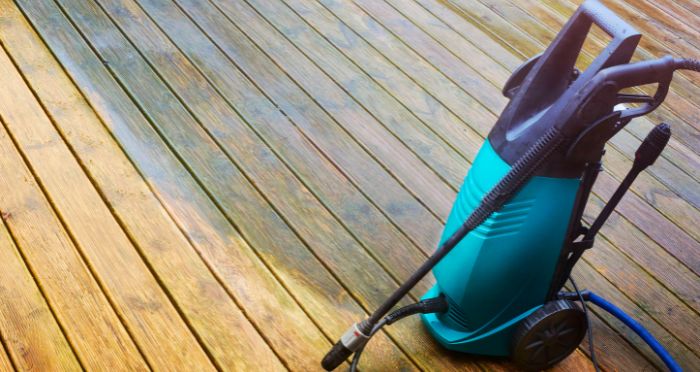
Pressure washers are available in both gas and electric versions. Gas pressure washers tend to be more powerful than their electric counterparts. Still, they can also be much noisier and emit fumes.
Electric pressure washers are typically less expensive than gas pressure washers. In addition, they are smaller and lighter, making them easier to transport.
It would help if you used an electric pressure washer to clean a one-story house and gas one for two or higher-story houses.
Recommended pressure washers to wash a house
Electric Models
[amazon box=”B073FCYPVD”]
[amazon box=”B08BCGC12L”]
[amazon box=”B002Z8E52Y”]
[amazon box=”B06XKLNN6Z”]
Gas Models
[amazon box=”B004MXKUCY”]
[amazon box=”B06XHJHGZN”]
What You'll Need
How To Pressure Wash A House Before Painting: 5 Easy Steps
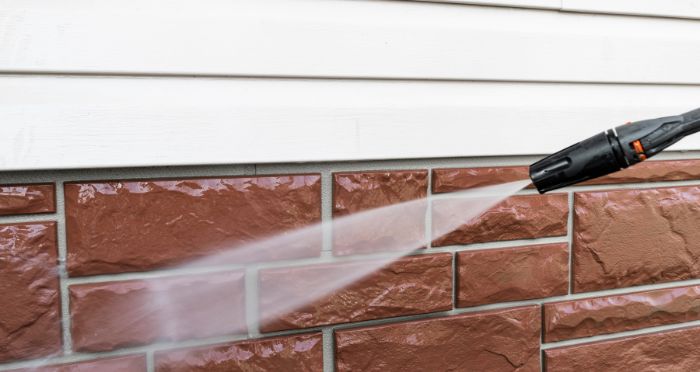
Here are the steps you can take:
Step 1: Planting and utility installations should be protected
Before pressure washing a house, protect any adjacent plantings you wish to keep around your home. Even if pressure-washing is done correctly and carefully, sediment from the pressure washer’s water can cause damage to plants. Cover them with a tarp to prevent contact with pressure-washing water.
Step 2: Remove any major debris
Wipe off the siding with a pressure washer. Use plain water (no cleaning solution) to rinse it from top to bottom. A wide spray angle and modest pressure should be enough for this step.
The primary goal of this stage is to remove most of the visible trash: insect nests, leaves, and dirt. Finally, allow the siding to dry completely.
It is an excellent time to mention that you should never use the red tip (0-degree). The red tip can harm the siding.
Step 3: Bleach solution should be used on mildewed areas
Some pressure washers have a bleach solution attachment to rinse onto surfaces. When pressure washing a house, you will want to pressure wash mildew spots with a diluted bleach solution before pressure washing with water only.
If you use the pressure washer’s included nozzle attachment for this step, wear eye protection, so the concentrated bleach solution does not get into your eyes.
If you are pressure washing a house without the pressure washer’s bleach solution attachment, create a diluted bleach solution to use instead. For example, add two parts water to one part bleach.
When pressure-washing mildew, spray this solution onto pressure wash surfaces that have mildew spots or stains on them.
Step 4: Spray With Cleaning Solution
Add the desired amount of cleaning solution and fill the pressure tank with plain water until complete. Test spray a small portion of the siding before pressure washing a house in its entirety to ensure the cleaning solution does not damage the siding.
Cover the pressure washer nozzle with a pressure-washer-specific pressure nozzle and test spray to get water pressure down to around 1,500 psi (pounds per square inch). Then, turn the pressure washer off and reattach the standard pressure sprayer tip.
Sponge up any standing water before pressure washing a house and then pressure washing each pressure-washer section. It makes sense to pressure wash those sections separately for pressure washing siding with seams that are more than 2 inches apart.
Step 5: Rinse
Allow 10 minutes for the chemical to work through your hair, then rinse from the top down with clean water. Rinsing should be done from the top down to prevent unclean water from running over clean areas while cleaning.
Allow at least 48 hours for the paint to dry before using it or for any exposed wood to be completely dry. If you must wait a few weeks before painting, additional spray-down with fresh water is a good idea.
It’s incredible how quickly spiders can move in, and dust might accumulate after cleaning.
Tips for Pressure Spraying
- Don’t aim the spray wand straight at the siding.
- Work one area at a time.
- Keep the spray stream level by avoiding driving water up behind the siding.
Bonus Tips: Some pressure washers feature rotating brush attachments. These add-ons are ideal for siding with a lot of grime.
Cautions for Pressure Washing A House Before Painting
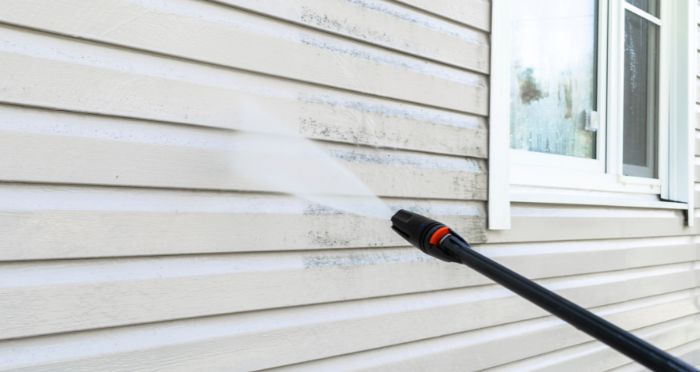
Using a pressure washer in your home does carry some risk. If you aren’t careful, the pressure from the water can damage the siding and even cause structural damage to your home’s framing or foundation.
Please follow these cautions before pressure washing:
Avoid Direct Streaming Near Windows or Doors
When pressure-washing a house, do not direct a stream of water at any location near windows or doors. The pressure of several dozen pounds per square inch from the pressure washer can quickly shatter glass.
Remove Outdoor Furniture
Remove any outdoor furniture from the area being cleaned. Do not point the pressure washer at cement or bricks on the exterior of your home, as pressure from these surfaces can push water behind siding and walls.
It can be hard to pressure-wash mortar from between bricks without pressure washing away some of the brick itself. Also, avoid power-washing gutters as this may leave lines of dirt running down the siding due to pressure washing behind it.
Protect Your Surroundings
Protect any adjacent plantings you wish to keep around your home. Even if pressure washing is done correctly and carefully, sediments from the pressure washer’s water can kill plants.
Cover them with a tarp to avoid contact with pressure-washing water to prevent the killing or damaging of plants during pressure washing.
Avoid Too Much Pressure
Pressure washing can damage the siding. If done too fast or with too much pressure, pressure washing can strip paint off the siding. It can even remove wood itself, making it more difficult for the new paint to adhere to your home’s surface.
Try Low-Pressure Settings
To pressure wash your home and reduce the risk of pressure washing damage, stick to a low-pressure setting on your pressure washer. The PSI should be less than 1,000 PSI, if possible. To pressure-wash properly, stay between 500 and 600 PSI without pushing above 700 PSI.
Use a pressure washer with an adjustable pressure nozzle to decrease pressure as needed.
Start From The Top
Start pressure washing from the top of your house and work down, keeping the pressure washer about 4 feet away from the siding.
Concentrate On Rust
Concentrate on removing built-up dirt, grime, or rust rather than trying to blast paint off your home’s siding. If pressure washing is done right, it shouldn’t take longer than 10 minutes to pressure wash one side of your house.
Final Thoughts on How To Pressure Wash A House Before Painting
Pressure washers are a quick and easy way to pressure wash your house before painting, but it can be tricky if you don’t know how. We’ve shared the pressure washing process that will leave your siding clean and ready for paint in this article.
With these tips and tricks under your belt, go out there and start pressure washing!
FAQs
How long do you have to wait to paint a house after pressure washing?
You should follow the paint manufacturer’s instructions exactly. In general, you should wait 24 hours to 72 hours after a pressure wash before painting. The reason for this is that the high-pressure water can remove the top layer of paint, and if you paint too soon, the new coat will not adhere well to the old one.
Which PSI is used to remove paint with a pressure washer?
There’s no one answer to this question since the appropriate PSI (pounds per square inch) pressure needed to remove paint from surfaces can vary depending on the type of paint, surface material, and other factors.
In general, however, you’ll want to use a pressure washer with 2,000 to 4,000 PSI of pressure when removing paint. Keep in mind that using too much pressure could damage the underlying surface material, so it’s always best to start with a lower setting and increase as needed.
What is the best month to pressure wash a house?
It’s best to pressure wash a house at least once a year, but the best time to do it is between March and November. That’s because the sun and heat can help dry the house quickly after it’s been washed, and you’ll avoid any cold weather that might damage your property.
Shop Related Products
[amazon bestseller=”pressure washer”]